Hearing aids are a valuable tool for many people, helping to restore the ability to hear and enjoy life’s sounds. However, like any device, they require regular maintenance to ensure they work effectively. Cleaning your hearing aids properly can extend their lifespan and improve your listening experience.
Before you start cleaning, it’s important to understand the type of hearing aids you have. Common types include behind-the-ear (BTE), in-the-ear (ITE), and receiver-in-canal (RIC) devices. Each type requires slightly different care, so knowing which you have is essential.
Gathering Your Cleaning Supplies
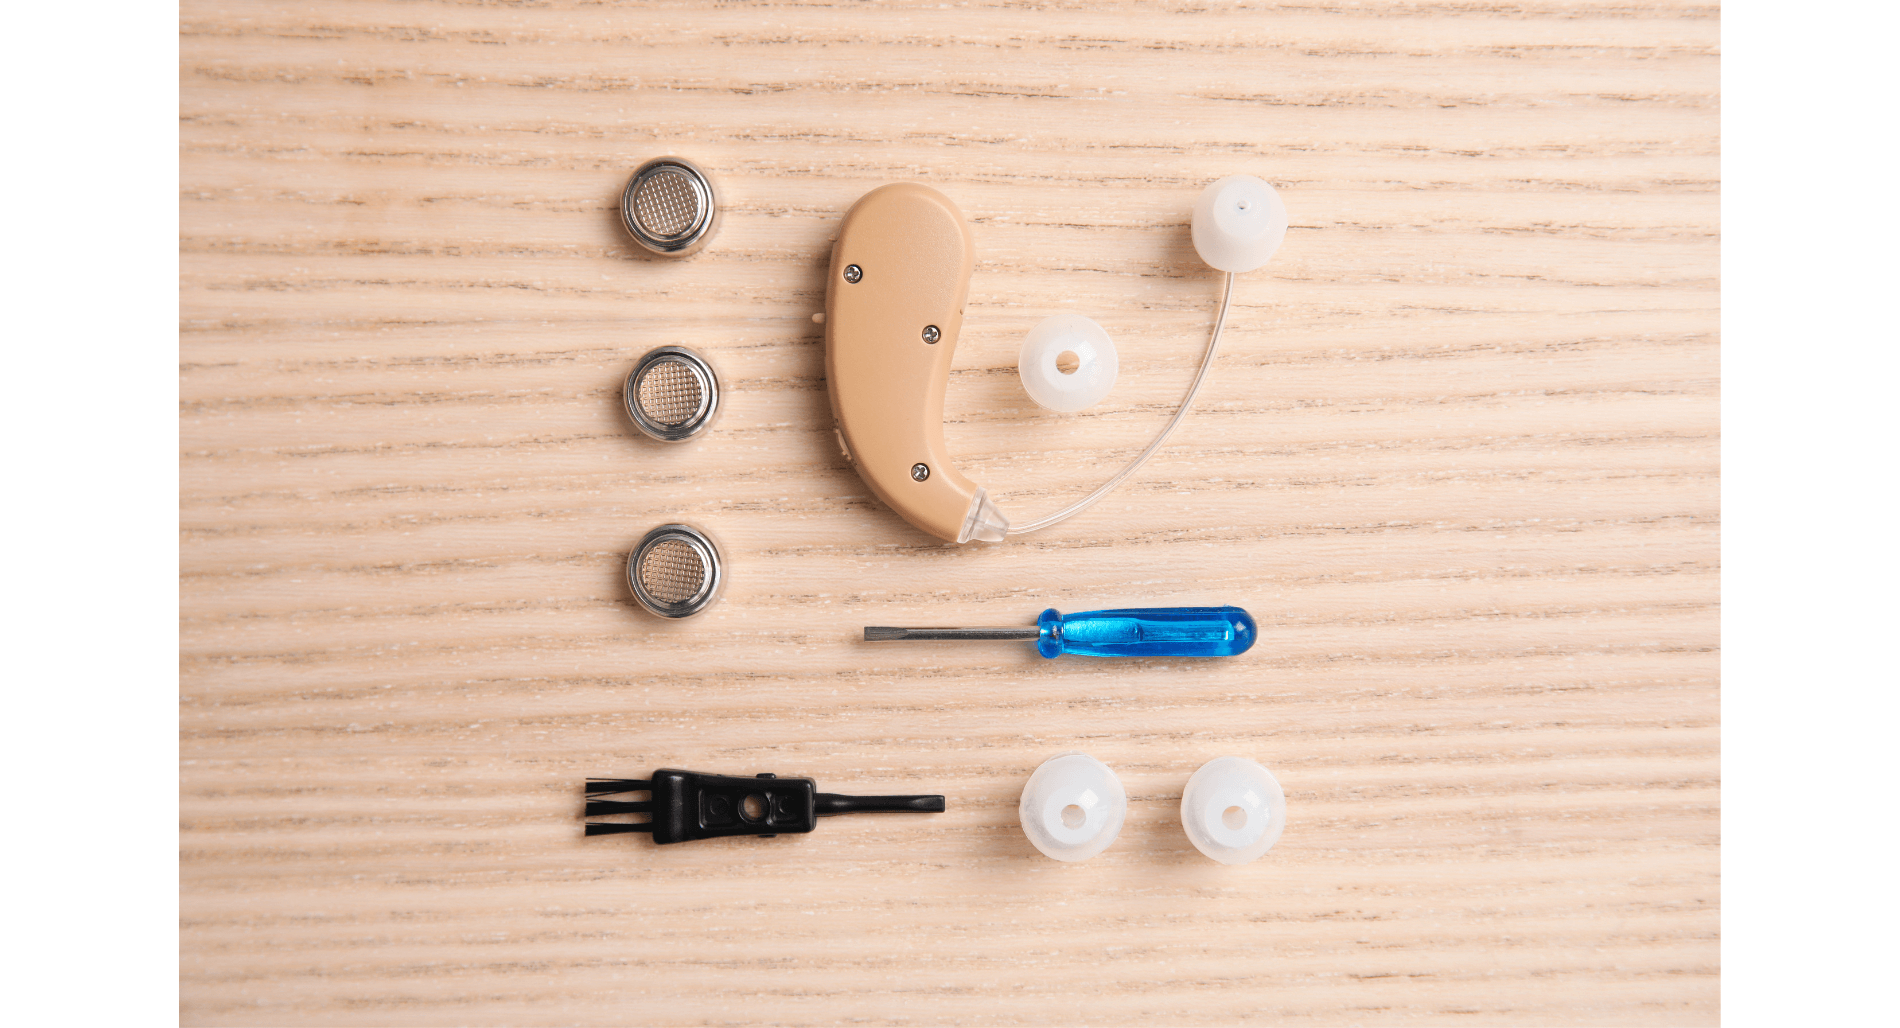
Next, gather the necessary cleaning supplies. You’ll need:
- A soft, dry cloth
- A wax removal brush or pick
- A hearing aid cleaning tool kit
- Drying kits or dehumidifiers
Inspection and Preparations
Begin by inspecting your hearing aids. Look for any visible dirt, earwax, or moisture. Turn off your devices and remove any batteries to avoid damage during cleaning. If your hearing aids have replaceable parts, such as wax guards or domes, make sure you have spare parts ready.
Cleaning the Hearing Aid Shell
Using a soft, dry cloth, gently wipe the outer shell of your hearing aids. This removes dust and debris. Avoid using water or cleaning fluids, as these can damage the sensitive electronics inside. For tougher dirt, lightly dampen the cloth, but ensure it is almost dry before use.
Cleaning the Microphone and Receiver
The microphone and receiver are delicate parts of your hearing aids and need careful attention. Use a wax removal brush or pick to clean these areas gently. Hold the hearing aid upside down during this process to allow debris to fall away from the device, not into it.
For BTE and RIC hearing aids, clean the earmold or dome separately. Use a soft cloth or a brush to remove visible dirt and wax. Some earmolds can be washed with mild soapy water, but make sure they are thoroughly dry before reattaching.
Changing Wax Guards and Domes
Wax guards and domes protect the internal parts of your hearing aids from earwax and other debris. Regularly replacing these components is key to maintaining the device’s performance. Here’s how you can do it:
- Remove the Old Wax Guard: Use the tool provided in your cleaning kit to remove the old wax guard. Be gentle to avoid damaging the device.
- Insert the New Wax Guard: Take a new wax guard and insert it into the designated spot. Firmly press, ensuring it fits securely.
- Replace Domes: If your hearing aid uses domes, inspect them regularly for any wear and tear. Replace them as needed.
Drying and Moisture Control
Moisture is one of the biggest enemies of hearing aids. Even small amounts of moisture can cause serious problems. Use a drying kit or dehumidifier regularly to keep your hearing aids dry. Place your hearing aids in the drying kit overnight or as recommended by the manufacturer.
Tips for Prolonging Hearing Aid Life
- Handle with Care: Always handle your hearing aids with clean, dry hands. Avoid dropping them, as this can cause damage.
- Avoid Exposure to Heat and Moisture: Keep your hearing aids away from direct sunlight, hot environments, and moisture. Never wear them while showering or swimming.
- Store Properly: When not in use, store your hearing aids in a protective case. Use dehumidifiers or drying kits as needed.
- Replace Batteries Regularly: Fresh batteries ensure your hearing aids function properly. Dispose of old batteries safely and keep spare batteries on hand.
Conclusion
Maintaining your hearing aids through regular cleaning and proper care prolongs their life and ensures optimal performance. By following these steps and incorporating professional maintenance into your routine, you can enjoy clear and reliable hearing for years to come. Remember, a little daily care can make a big difference in the overall health of your hearing devices.

